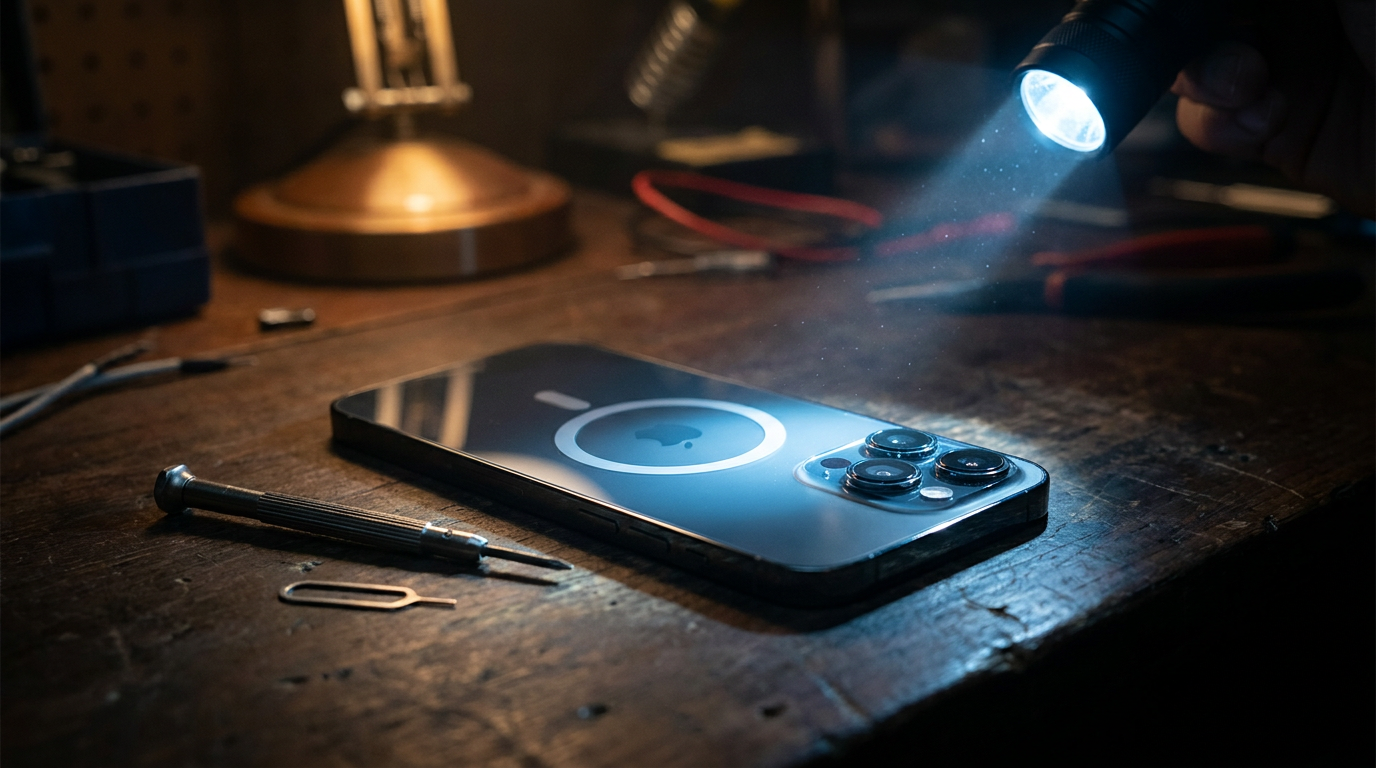
There is a growing used iPhone market everywhere. Apple is one of those brands, that having an iPhone is somehow a status symbol in many part of the world, like having an Amex Black Card. Naturally, people who can’t afford a brand new one, looks into the used market, in the chase for a good enough used one to get the prestige.
But the horror stories in the used phone market, especially when it comes to iPhone, its quite literally the wild wild west. I have seen people buying used iPhones only to get a cheap display or a low quality battery. Even smart, intelligent peoples were duped at some cases. I myself was duped once while trying to buy one for a friend. Combining all the horror stories, from friends and family to the strangers on the internet, here is my definitive Guide on how to buy a used iPhone. Don’t skip one, or it might come back to haunt you. And the last one, thats the most important one.
Step 1: Parts & Service History
Your first order of business is, check the phones about section ( Settings -> General -> About ). In the Parts & Service History section, apple themselves will tell you if a non-genuine apple part exists in this phone. They will properly label it with a warning. This is the simplest way to determine whether something have been replaced or not.
Two problems with this though. First, the genuine apple product badge can be faked. reprogrammed after market parts are flashed with serial numbers from real apple parts, which iOS can take as a genuine apple part. So this test is the quick and easy first step, before you spend more time on this phone. If something is flagged on this list, you should walk away from this phone. Even a genuine apple camera part can sometimes show up as unknown, has happened before, better to walk away at this stage.
Step 2: Battery
The battery is the most faked thing in a used iphone. And not for the reason you think.
The battery health, the cycle count, the battery’s birthday — none of that is stored on the phone. It lives on a tiny chip soldered to the battery itself. iOS just reads what that chip says. So whoever owns the battery owns the numbers.
There are two ways they abuse this.
The reprogram. Tools like 3uTools, JCID, Qianli rewrite the chip. Cycle count goes to zero. Health goes to 100%. One refurbished phone sold with a “new battery” showed 100% health, 0 cycles, 103% capacity. The battery was a used cell from another phone, manufactured October 2023. A used battery, sold as new, telling the phone it was perfect.
The transplant. This one beats apple’s own check. They take the chip off your original battery and spot-weld it onto a cheap cell. iOS now shows “Genuine Apple Part” — because the serial is genuinely apple-registered. The badge is real. The battery is not.
So don’t trust the headline number. Trust the consistency of the numbers.
Go to ( Settings -> Battery -> Battery Health ). apple shows you the date of first use, capacity, and cycle count. Do the math before you believe it. A battery first used in May 2023 should have around 300 cycles by now — that’s two charges a week, which is already generous for a daily driver. A three-year-old battery claiming 23 cycles? The data has been rewritten, or the battery has been replaced. In this market, usually the third option. Same logic for the dates: a battery manufactured October 2023 can’t have a first use of March 2025.
One honest caveat. Cycle count and first use date only show natively on iPhone 15 and later. Older phones need 3uTools on a PC or coconutBattery on a Mac. And those read the same chip, so they’re just as foolable. The consistency check matters more than any single number. And if a seller won’t let you run the checks — that’s your answer.
Step 3: MagSafe
MagSafe magnets are not embedded in the phone. They’re glued to the back glass. When the back glass gets replaced — which is what happens when a seller needs to hide a cracked back or a botched battery job — the old glass shatters and takes the magnets with it. The cheap aftermarket glass that fast-turnaround sellers use has weak magnets, or no magnets, or magnets glued in the wrong polarity.
So if you’re buying used iphones, own a MagSafe puck. Put the bare back of the phone on it. Feel the pull.
A genuine phone holds the puck with a solid snap. A phone that barely holds it, or slides off, has been opened. The back glass has been replaced. You can be certain of that part. What you can’t know is what else was replaced while they were in there. That’s the point. It’s not a diagnosis. It’s a red flag that earns a much closer look.
Two rules so the test doesn’t lie to you. Test with a genuine apple puck — cheap third-party pucks have weak magnets themselves. And no case — metal plates and thick padding kill the hold on a perfectly untouched phone.
Step 4: Display
The battery is where the data gets faked. The display is where the hardware itself is the lie.
The bezels. A real screen has thin, even bezels all the way around. Cheap replacement panels — hard OLEDs especially, with their rigid glass and plastic frame — have chunkier borders, usually uneven side to side. Hold the phone at an angle and trace the black frame. Thick or lopsided, the screen has been opened. Costs nothing, catches most of the market.
The honest comparison. Bring a phone you trust. Borrow one, same model is ideal, any modern OLED iphone works. Run them side by side. The trick is controlling the variables before comparing:
- True Tone off and Night Shift off on both phones first. You want raw panels, not software corrections. Then toggle them back on and compare again.
- Max brightness on both, in a bright room. Genuine iPhone 13 and later panels push 800–1200 nits. Cheap hard OLEDs cap around 500–600. Side by side, the fake looks dim and washed. You’ll see it without any measuring device.
- Tilt both phones. Genuine OLEDs hold their color at an angle. Aftermarket panels wash out the moment you go off angle.
Solid colors. Open fullscreen white, red, green, and black. White and the colors catch dead pixels and bright spots. Black catches OLED burn-in — ghost keyboards and status bars that no reset will ever clear. Aftermarket panels are where both problems live most.
Pro models only. 13 Pro and later, scroll a long page and watch the motion. Genuine panels are 120Hz. Cheap replacements are frequently 60Hz. If it doesn’t feel buttery, it’s not the original panel.
The touch pass. Drag an app icon slowly across the whole screen, corners included. Aftermarket digitizers have dead zones and ghost touches. Five seconds, catches bad digitizers.
Face ID as a canary. The front sensor module lives inside the display assembly, and it’s hard to preserve when swapping screens. If Face ID works, the front assembly is almost certainly untouched. If the seller tells you it’s “broken, it’s a software thing” — it isn’t. Walk.
One note on True Tone, because you’ll hear it everywhere. If True Tone is missing, the screen has been replaced — that’s a fact on iPhone 12 and older, where the sensor lives in the display. But on iPhone 13 and later, apple moved the sensor out of the screen, and repair shops restore True Tone by transferring the chip anyway. Missing True Tone is proof. Present True Tone proves nothing. A one-way door, like the magnets.
Step 5: Camera

The camera is where the lies compound. A battery lie is a data problem — numbers faked, hardware honest. A camera lie is physical: misaligned sensors, dust behind the glass, dead stabilization. All of it residue from a phone opened and put back together in a hurry. So the camera check is less about the camera, more about everything else that’s been done to this phone.
The flashlight test. Shine a light at an angle across the back sensors. Straight-on light hides what angled light reveals. Dust behind the glass means the phone was opened — factory phones don’t have dust in there. Do every lens, not just the main one. Swapped modules usually break one specific camera, and sellers rarely test all of them.
Make it take photos. Point at something 20cm away, tap to focus. Then something across the room, tap again. Watch it hunt — motors going in-out-in-out without locking is damaged autofocus, not bad luck. Then photograph a flat surface with text on it, at a slight angle. One corner consistently softer than the rest, the sensor is tilted. That’s the classic post-repair misalignment, and no software fix will touch it.
Stabilization. The most fragile thing in a used iphone. Motorcycle and bike mounts destroy it — a documented epidemic, and in our market half the phones on sale have spent time on a bike or a CNG. Hold the phone perfectly still and the viewfinder jitters. Or the camera clicks and rattles. Or video has that drunk-vision wobble. Record ten seconds of video panning slowly across a bright room. Shakes, buzzes, clicks — the OIS is dead or dying. That’s a repair you don’t want to inherit.
The selfie, in two lights. Bright, then dim. If it won’t lock onto your face in bad light, the autofocus is weak. And do the flashlight trick on the front sensor too — a swapped display usually brings a dusty front camera with it.
Lens protectors. Sellers put cheap film over scratched or cracked lens glass, and the film itself makes photos hazy. Protector on the lens, ask them to remove it before you test. Won’t remove it, they’re hiding something.
Flash. One photo against a dark surface. A repaired phone with a damaged or disconnected flash module shows up instantly. Sellers don’t test flash, because it “works” until the photo actually gets taken.
The camera is where the whole inspection comes together. Dust, misalignment, dead stabilization — all of it means the phone was opened. Camera fails, go back to the MagSafe test and the bezels, confirm the pattern. Fails both, the phone has been through the mill, even if every part looks passable on its own.
Step 6: Quick checks
Five minutes, catches everything the chapters above don’t.
Taptic Engine. Haptics are glued into the phone and routinely destroyed during repairs. Test it: keyboard clicks, Control Center toggles, the thunk when you flip the mute switch. Weak or absent haptics, the phone was opened.
Water damage indicator. Open the SIM tray, look for the small dot inside. White is dry. Red means the phone has been wet, whatever the seller says. Five seconds, tells you history the phone itself will never admit.
The flex test. Gently press the screen and frame. Creaks, flex, a screen sitting proud of the frame — bad reseal. A phone opened and glued back together announces itself this way.
Voice memo, a real call, a video. Record a voice memo (bottom mic), make a call (earpiece, top mic), shoot a video (front mic). Play all of it back at max volume. Speakers and microphones are the most-damaged components nobody tests at the point of sale.
Wi-Fi and Bluetooth. Scan for networks, pair something. Antenna damage is common, and sellers never demo connectivity.
Buttons. Volume up/down, mute switch, power, the Action button on newer models. Sticky or dead after a repair, classic. Cheap to replace, so sellers claim they “don’t use them” rather than admit broken.
Charging port. Plug in, check it seats tight, confirm fast charging kicks in. A worn port is a slow, expensive death — and a good sign of how roughly the phone’s been treated.
Step 7: The serial check
Plug the serial number ( Settings -> General -> About ) into checkcoverage.apple.com. You get the estimated purchase date — the phone’s real age, whatever the seller claims — plus any remaining warranty or AppleCare. A phone “used for three months” with a purchase date three years back has a story. Cross-check the serial against the IMEI, the SIM tray engraving, and the box.
Step 8: Activation Lock - Most Important
Everything above is about how the phone works. This one is about whether you actually own it.
It’s last for a reason. To demo the phone properly, the seller needs it in a semi-active state — battery stats, settings, camera, all of it live on screen. A seller who’s straight with you will show you everything, then reset the phone when you’re done. That’s the moment this check lives in.
Agreed on the price. Say the words: “Sign out of iCloud and factory reset it in front of me.” Watch them do it — ( Settings -> your name -> Sign Out ), then ( Settings -> General -> Transfer or Reset iPhone -> Erase All Content and Settings ). The phone boots to the hello screen. You set it up fresh, as a new iPhone.
Won’t or can’t, there is no deal at any price. An iCloud-locked phone is a brick — can’t be activated, restored, or used until someone guesses the Apple ID password. And in our market, “locked iphone for cheap” is a whole category of what is effectively stolen goods. This reset test is the single moment that separates a used phone from a very expensive paperweight.
Bonus: IMEI ( Settings -> General -> About ) matches the SIM tray and the box, and it’s not on the BTRC blocklist. A blocked IMEI is a phone reported stolen — won’t work on local networks, no matter how clean the reset goes.
This list, its not the be all and end all of a check list. But it should give you a starting point to determine if the used phone you are holding in your hand is real or not. The short version is, if anything in this list feels off to you, walk away. You can find another used on later. Don’t rush. Even the used market is a investment and you don’t wanna spend your hard earned money on something that turns out to be a dupe.